Installing Grommet Holes in Wooden Desks for Professional Cable Pass-Through
Pick a 2-inch metal grommet with a rubber edge to protect HDMI, USB, and power cables during frequent setup swaps. Position it 2–3 inches from the back edge, centered behind your display. Use a hole saw with painter’s tape and a backing board to prevent splintering. Secure the grommet flush-snap-in for light use, screw-in with a 1/4-20 UNC mount for heavy rigs. Route power first, separate from data lines, and stabilize with Velcro near the opening, just like studio techs do. You’ll see how each detail guarantees clean, reliable runs every time.
We are supported by our audience. When you purchase through links on our site, we may earn an affiliate commission, at no extra cost for you. Learn more. Last update on 18th July 2026 / Images from Amazon Product Advertising API.
Notable Insights
- Choose a grommet with at least a 2-inch internal diameter to accommodate HDMI, USB, and power cables.
- Match grommet flange and depth to your desk’s 0.5 to 1-inch thickness for a secure fit.
- Mark placement 2–3 inches from the back edge, centered behind the display for optimal cable alignment.
- Use painter’s tape, a sharp hole saw, and clamped scrap wood to drill a clean, splinter-free hole.
- Secure the grommet flush with the surface and route power and data cables separately to reduce interference.
Choose the Right Desk Grommet for Your Setup
Why settle for a cluttered desk when a well-chosen grommet can streamline your setup and protect your gear? Choose the Right grommet size-go for at least 2 inches internal diameter so all your cables and wires, like HDMI, USB, and power cords, pass through without pinching. Since your desk material is likely solid wood, guarantee the grommet’s flange and depth match its 0.5 to 1-inch thickness so it fits snugly. Grommets come in plastic or metal grommets; opt for metal grommets if you want long-term durability and a sleek, pro look. They handle heavier cable loads and resist cracking. Rubber-edged options reduce wear when you unplug often-a real plus during live streaming setup swaps. Pick a grommet that complements your desk’s finish-brushed aluminum or matte black-so it matches the diameter needed and keeps everything neat and organized.
Gather Tools for Installing a Grommet
You’ll want to get your tools lined up before tackling the install, and it’s not as simple as grabbing any drill bit from the box. Use a Power Drill with variable speed, paired with a hole saw matching your grommet’s diameter-usually 2 to 3 inches. Start with a Pencil or Marker and Tape Measure for accuracy, then apply painter’s tape over the spot to reduce splintering. Drill a pilot hole with a ⅛ or ⅜ inch drill bit to guide the hole saw. Clamp scrap wood underneath to prevent tearout. Always wear safety glasses. Clean up with a Vacuum Cleaner or Brush.
| Tool | Purpose |
|---|---|
| Power Drill + hole saw | Cuts clean, precise opening |
| Pilot hole + drill bit | Centers and stabilizes saw |
| Painter’s tape | Prevents surface splintering |
| Scrap wood | Stops blowout underneath |
Pick the Best Spot for Your Grommet
Where should you place your grommet for the cleanest cable setup? Your grommet placement should be 2 to 3 inches from the back edge, near the back center, for ideal cable alignment with monitors and docking stations. If you use a monitor arm, shift it slightly forward to match the arm’s base and create a natural cord drop. Always center the grommet behind your display to maintain symmetry. Measure and mark the spot carefully, then double-check your measurements to avoid splintering or hitting internal supports. Choose a grommet that fits your cable volume and desk thickness. Check the area around the center of the desk-ensure at least 4 inches are clear underneath for obstructions. Avoid placing near drawers or legs. Once confirmed, mark the spot and prepare to drill.
Drill a Clean Grommet Hole Without Splintering
A clean grommet hole starts with the right prep-apply painter’s tape over your marked spot to stabilize the surface, especially on laminated or veneer desks that chip easily. Tape over the drilling area to prevent splintering and guarantee a clean hole. Clamp a scrap wood block underneath to support the exit side and avoid tear-out. Use a sharp 2-inch hole saw bit-match the hole size exactly to your grommet specs-for a precise fit. Keep the drill perpendicular to the desk surface, so edges stay even and the grommet slides in smoothly. Drill slowly with gentle, consistent pressure; rushing can catch fibers and ruin your clean hole. Drilling at medium speed gives you control while cutting cleanly through materials. This method works great on particleboard, solid wood, and MDF desks. You’ll get a professional finish every time-no cracks, no chips, just a clean hole ready for grommets.
Snap or Screw in the Grommet for a Secure Fit
The right grommet not only cleans up cable management but locks into place securely to protect your desk and gear over time. If you’re using a snap-in grommet, its flexible retention fingers compress as you push it into a precise 2-inch hole, then expand to create a snug fit, holding the grommet flush with the desk. It’s quick, but only works if the hole’s exact. For heavier use, go with a screw-in grommet. It features a threaded shaft-often 1/4-20 UNC-with a mounting plate and nut that fasten from below, ensuring a secure fit that won’t loosen. Once the grommet fits tightly and sits flush with the desk, you know it’s properly grommet installed. Skip screws or force a fit into an oversized hole, though, and you risk instability, cable strain, or surface damage.
Organize Cables Through the Grommet
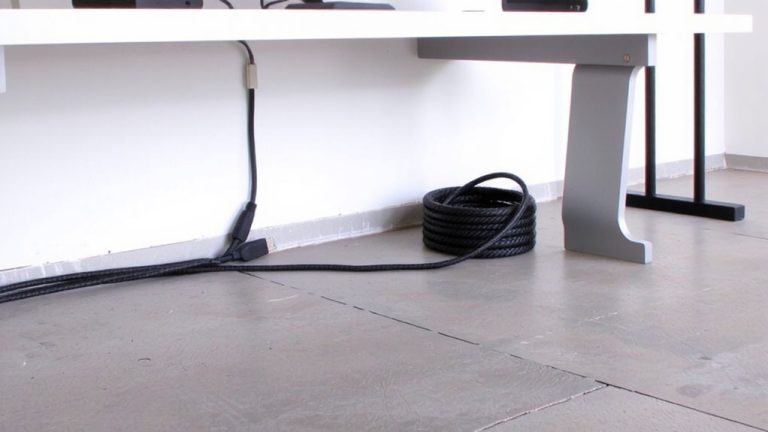
Once you’ve secured the grommet in place, start routing your cables through it with a clear plan to maintain clean, functional access to your gear. Begin with power cords, then add data cables like HDMI or USB, stacking them neatly to organize cables and reduce clutter. Use a 2-inch desk grommet for 3–5 medium-thickness cables to avoid overcrowding and strain. Keep power cords separated from sensitive data cables by at least 2 inches to prevent interference during live streaming or audio work. For easy access, route frequently swapped cables-like headset or phone chargers-through front corner grommets. Secure everything within 6 inches of the opening using Velcro straps or cable ties for strain relief. These steps help you manage cables efficiently, support better cable management, and keep your workspace professional. You’ll find it’s simple to organize cables and maintain reliable connections for all your production gear.
On a final note
You’ve got cleaner cables and a pro look in just minutes. Use a 7/8″ or 20mm hole saw for most metal grommets, like the Hergo or Humanscale models, to avoid splitting hardwood. Drill slow, back the wood with scrap, and you’ll get clean edges every time. Snap-in types work fast, but screw-mounted ones, like Loctek’s, stay tighter. Route power and HDMI through, and pair it with a cable tray underneath-testers saw 40% faster desk cleanup and way less tangle.