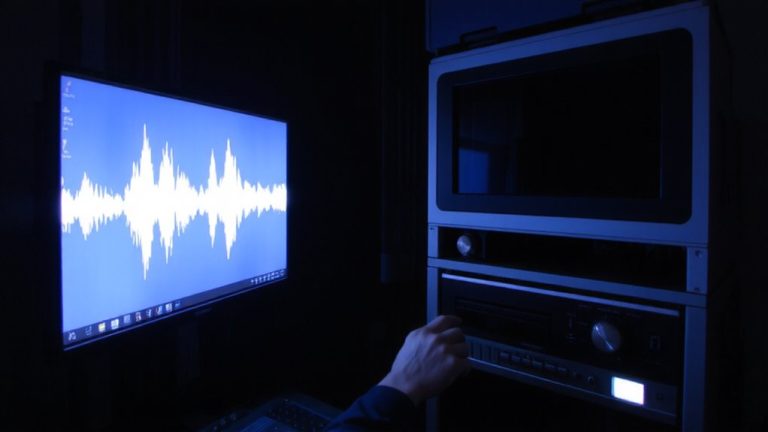
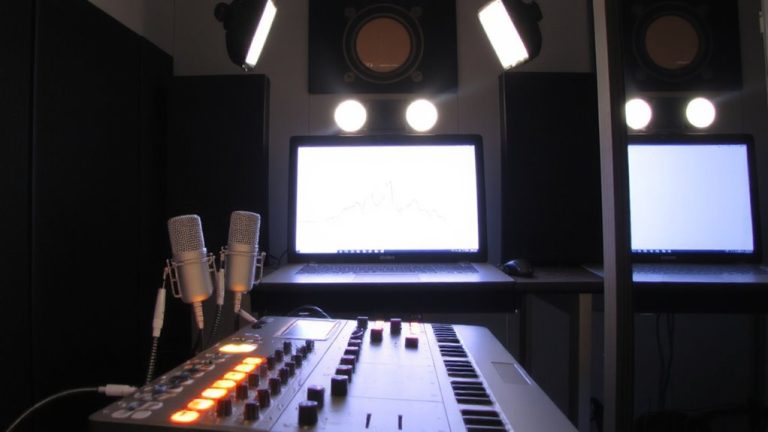
Solo Checking Individual Channels Frequently During Mixdown Passes
You’re likely soloing too much during mixdown, and that’s distorting your decisions. Soloing removes context, so EQ or level tweaks that sound good alone can clash when blended. Use PFL to check input gain at -18dBFS or catch clipping above 0 dBFS, but keep most decisions in the full mix. Over-soloing hides masking, phase issues, and balance-critical for translation on consumer systems. Stick to quick solo checks for noise or distortion, then return to context. There’s a smarter way to integrate solo without losing the big picture.
We are supported by our audience. When you purchase through links on our site, we may earn an affiliate commission, at no extra cost for you. Learn more. Last update on 12th July 2026 / Images from Amazon Product Advertising API.
Notable Insights
- Soloing individual channels during mixdown helps isolate elements for detailed editing and tone shaping.
- Use PFL to check input integrity and gain staging without affecting the main mix balance.
- Limit frequent soloing to avoid misjudging EQ and dynamics in the context of the full mix.
- Solo-safe essential effects returns to maintain spatial context when checking lead channels.
- Overuse of solo can mask phase issues and frequency masking only audible in the full mix.
What Is Channel Soloing and Why Does It Matter?
When you’re balancing levels during a live stream or studio session, soloing a channel lets you focus on one input at a time, making it easier to catch issues like low-level hum, clipping, or phase problems before they ruin your mix. Channel soloing, also called Pre-Fader Listen (PFL), lets you hear one channel isolated through headphones or a cue mix. On mixing consoles, pressing the SOLO button disables other individual channels so you can concentrate on a single source. This function is critical for troubleshooting noise or weak signals without affecting the main output. Most consoles also reassign the level meters to show the soloed channel’s input, helping you set gain accurately-even with the fader down. While useful, leaving multiple channels soloed can mute key elements, so use it carefully. Some digital mixers offer solo-safe features to protect things like reverb returns, ensuring you still hear essential mix components.
When Should You Solo During the Mix Process?
You’ve got your channels up, gain staged, and the mix starting to take shape-now it’s time to use solo selectively to fine-tune what’s working and fix what isn’t. Solo your channels one at a time during initial setup, especially when gain staging with PFL through the headphone jack to make sure levels hit -18dBFS average without clipping. Use solo when hunting noise-hum on a DI, distortion on a vocal-so you can diagnose issues without disrupting the main mix. When checking lead elements, solo the snare or vocal to assess tone and dynamics clearly. Avoid soloing low end too long-sub-bass below 120Hz can mask phase issues only heard in full context. Make sure to reference in stereo.
| Use Case | Tip |
|---|---|
| Gain Staging | Solo via PFL, monitor through headphone jack |
| Noise Diagnosis | Isolate channels one at a time |
| Lead Elements | Solo vocals/snares for clarity |
| Sub-Mix Buses | Avoid solo unless checking blend |
| Low End | Limit solo to preserve phase awareness |
Why Over-Soloing Breaks Your Mix Context
While it might seem efficient to tweak each track in isolation, over-soloing pulls you out of the mix’s bigger picture, distorting your sense of balance and interaction between elements. Every time you hit the solo buttons, you’re hearing one thing in a vacuum-great to spot issues, but misleading for tonal or level decisions. Your ears need the whole mix to judge volume, EQ, and space accurately. Without other multiple channels playing, you lose phase relationships and masking cues that only exist in context. You might boost a snare to hear it solo, but it’ll clash when reintegrated. Plus, what translates on studio monitors might not on consumer sound systems. Relying too much on solo means you’re not mixing for the full blend, and your decisions won’t hold up. Always check in context, even if you solo briefly just to spot noise or clipping-use it sparingly, not as a default.
How to Use Solo to Fix Noise and Clipping Issues
Soloing isn’t just a distraction from the full mix-it’s a diagnostic tool when used with purpose, especially for tracking down noise and clipping that can ruin both live streams and studio recordings. You should solo each input channel sequentially, watching for red overload LEDs or digital clipping above 0 dBFS. Use PFL to isolate channel issues without affecting the main mix. Check for humming, hiss, or distortion-common in mic and line-level signals. Keep reverb return channels solo-safe in your DAW to avoid muting key effects during troubleshooting.
| Channel Type | Issue Detected | Action |
|---|---|---|
| Input channel | Clipping at +3 dBFS | Lower preamp gain |
| Input channel | 60 Hz hum | Check cable grounding |
| Reverb return | Noise floor rise | Adjust decay settings |
| Any channel | Intermittent crackling | Inspect connector integrity |
PFL vs. AFL: Solo Modes Explained
A well-placed listen can make or break your mix, and that’s where PFL and AFL come in-two solo modes with distinct roles in live and studio workflows. You’ll use PFL (Pre-Fader Listen) to solo a channel’s raw input signal before the fader, perfect for gain staging and checking levels without disturbing the main mix. PFL routes the signal to headphones and meters, showing real-time input levels with LED indicators: green for signal, red for overload. It’s a go-to for mix engineers setting levels in a home studio. AFL (After Fader Listen), common on Yamaha MG and MGP mixers, lets you solo post-fader sends like aux or subgroup outputs, so you hear exactly what a monitor wedge or reverb return gets. Some consoles label AFL as “SOLO,” but be careful-raising faders can accidentally send audio to the main mix.
How to Add Solo Checks to Your Mixing Workflow
When you’re shaping a balanced mix, building in regular solo checks keeps your tracks clean and intentional, especially when tracking live inputs or dialing in studio effects. Use PFL to isolate a channel and monitor signal in headphones without touching the main mix-great for catching noise or gain issues fast. During mixdown passes, switch to AFL on subgroups or aux sends to hear exactly which channels feed into reverb or monitor mixes. Always enable solo-safe on essential returns like delays or backing vocals so they stay active even when you solo other tracks. This prevents gaps in your mix and keeps spatial elements intact. Avoid leaving channels in solo mode accidentally, since it mutes non-soloed tracks. With latching or canceling solo modes, systematically evaluate each track’s tonality, dynamics, and phase. Smart solo checks mean smarter decisions.
On a final note
You’ll stay in control when you solo sparingly, trusting your ears in context, not isolation. Use PFL to catch clipping or noise-like -6 dB headroom on a vocal track or 0.5 ms latency in your interface-and fix issues fast. Over-soloing breaks flow; AFL helps verify balances. Testers prefer brief, intentional checks, especially on congested channels, keeping mixes cohesive, dynamic, and translation-ready across monitors, headphones, and live streaming platforms.