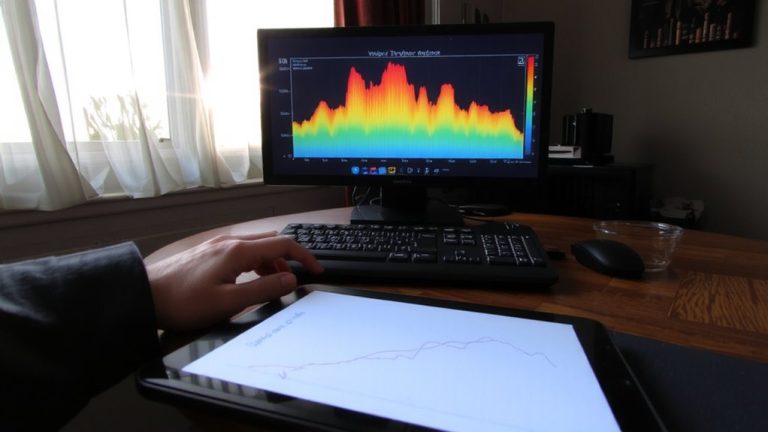
How to Build a Livestream Around Real-Time Study Sessions and Focus Groups
You’ll need a solid 10 Mbps upload, a Logitech C920 for 1080p video, and a Blue Yeti mic for crisp audio. Use Zoom or Switcher Studio to host real-time study sessions with screen sharing, breakout rooms, and roles like timekeeper. Structure each hour with 50-minute study blocks, 10-minute breaks, and clear scenes in OBS. Call students by name, set ground rules, and keep latency under 150ms-there’s more to get right.
We are supported by our audience. When you purchase through links on our site, we may earn an affiliate commission, at no extra cost for you. Learn more. Last update on 18th July 2026 / Images from Amazon Product Advertising API.
Notable Insights
- Choose a platform like Zoom or Switcher Studio that supports real-time interaction, breakout rooms, and secure access for study sessions.
- Use reliable equipment including a 1080p webcam, USB microphone, and stable internet with at least 10 Mbps upload speed.
- Structure sessions with timed blocks, clear agendas, and assigned student roles to maintain flow and engagement.
- Foster community by calling participants by name, setting ground rules, and using inclusive audio for hybrid participation.
- Test all tech beforehand, enable private streaming if needed, and use dual recordings to ensure stream reliability and accessibility.
Choose Your Role for Live Study Sessions
Ever wonder how to keep your live study sessions running smoothly while actually helping students learn? You should step in as the Host. In every live video session, the Host guides the study group, sets clear goals-like reviewing content or solving problems-and keeps things on track. Use Zoom or Google Meet to share your screen, interact in real time, and launch breakout rooms for small-group collaboration. Assign students roles like timekeeper or discussion leader to share responsibility and boost engagement. Stick to a consistent schedule and agenda so everyone knows what to expect. As Host, you’re not just leading-you’re creating structure, encouraging participation, and making sure learning happens. With reliable audio, a 720p+ webcam, and stable internet (10 Mbps upload speed), your live video stays smooth, professional, and effective. Breakout rooms max out at 50 participants on Zoom, so plan accordingly.
Pick a Platform for Livestream Engagement
How do you choose a livestream platform that keeps your study group engaged without sacrificing control or quality? If you’re running private group video sessions, Zoom gives you full live online control with breakout rooms, polls, and reliable screen sharing-plus, only the host needs a paid plan. For secure, professional Live Streaming, Vimeo offers password protection and pre-approval access, perfect for sensitive focus groups. Google Meet works well if your team uses Google Workspace, supporting HD group video, screen sharing, and managed attendance, though advanced features require a paid account. YouTube Live allows broad public reach, but lacks privacy and takes a 30% monetization cut, making it risky for private or paid content. Switcher Studio stands out by supporting both public multistreaming and private live online streaming to protected sites, with HDMI camera support and built-in monetization via Stripe for tickets, subscriptions, and donations.
Set Up Equipment for Live Study Streams
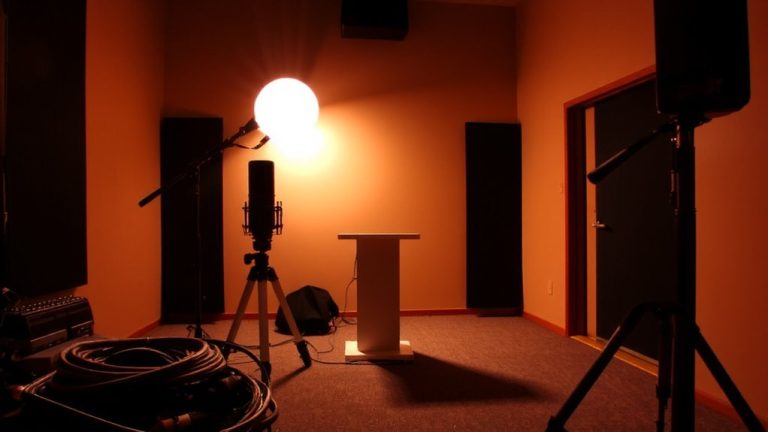
If you want your study streams to look and sound sharp without overcomplicating your setup, start with a solid foundation of reliable gear that balances quality and ease of use. Use a Logitech C920 webcam on a foldable tripod for smooth, 1080p video, or lean on your MacBook’s built-in camera if starting small. Plug in a Blue Yeti USB microphone to capture clear audio and reduce background noise-testers say voices sound crisp, not muffled. A USB dongle helps manage multiple devices, especially on port-limited MacBooks. For advanced Live video, run Switcher Studio on an iPad or iPhone to mix HDMI cameras, share your screen, and switch angles seamlessly. Always test your full equipment setup-cam, mic, lighting, and internet connection-before going Live. A stable 10+ Mbps upload guarantees no dropped frames. Solid gear means fewer glitches and better focus for your viewers.
Structure Live Study Sessions for Flow
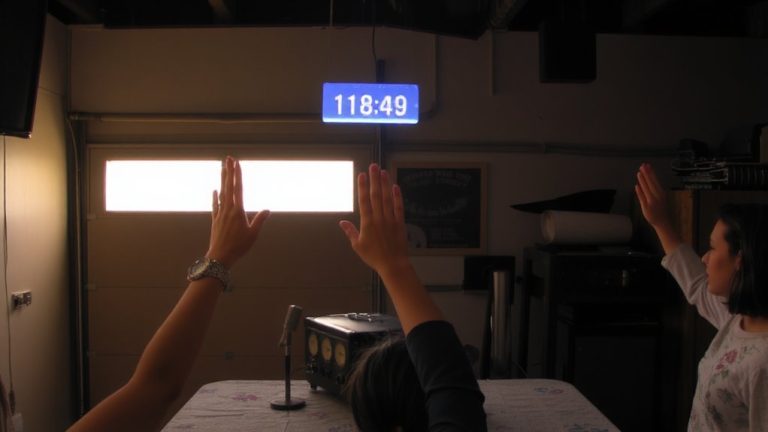
While getting your gear set up right is important, how you run the actual session matters just as much for keeping focus and energy high. To structure live study sessions effectively, start each one with a 5-minute welcome: roll call, goals, and a clear time-bound agenda set the tone. Use a countdown timer in OBS for 50-minute study blocks and 10-minute breaks to manage time wisely. Keep the flow smooth with consistent scenes-“Getting Ready,” “Work Time,” and “Break Time.” Make your engaging live sessions more interactive by assigning student roles like timekeeper or chat moderator. For group work, use Zoom breakout rooms with 15-minute limits to maintain pace.
| Segment | Duration |
|---|---|
| Welcome | 5 min |
| Study Block | 50 min |
| Break | 10 min |
| Breakout Room | 15 min |
| Total Cycle | 60 min |
Build Community in Livestream Focus Groups
Since connection drives engagement, make it a point to call out participants by name during the stream-doing so personalizes the experience and builds a sense of belonging from the first minute. Establish clear ground rules at the start so everyone in the group knows how to contribute respectfully and effectively. Use one platform that supports hybrid participation, like CCam Focus, where 360° omnidirectional audio pickup guarantees remote users feel present. Leverage the private backroom chat to let your team collaborate in real time without interrupting the live stream. This keeps dialogue natural and focused. With steady camera framing and dual backup recordings, you maintain reliability while transcriptions later help tag key insights. Testers found smoother interactions when audio latency stayed under 150ms. When participants feel seen and heard, the group becomes more than a stream-it becomes a community built on consistency, clarity, and shared purpose.
Set Accessibility Rules for Livestreams
You’ve built a space where students feel recognized and heard, now take the next step by designing your livestreams with accessibility at the core. Make sure every Study Session includes captions and recordings, so everyone can access content on their own time. Use tools like CCam Focus for real-time transcription and keyword tagging, and know how to use them smoothly in your workflow. Follow accessibility best practices: apply high-contrast visuals, add alt text to images, and structure shared documents with proper headings for screen readers. Test audio levels and camera framing to clearly show hands, instruments, or movement-1080p at 30fps works well. In breakout rooms, assign co-hosts trained in inclusive communication, ensuring no one gets left behind. These steps aren’t optional extras-they’re essential for equity. When you plan access from the start, you build stronger, more resilient learning communities.
Choose a Livestream Monetization Model
A livestream monetization model isn’t one-size-fits-all, so pick the right fit based on your study session goals, audience size, and content type. If you’re running regular sessions, a membership model via Switcher-using Stripe-lets you keep 100% of revenue, unlike YouTube’s 30% cut. For community-driven focus groups, a pay-what-you-can approach works well, especially for mindfulness or academic support, relying on goodwill and high attendance. Use one-time pay-per-view for specialized, limited sessions like exam prep, charging per event to maximize revenue. Prepaid packages, like a 4-week series, secure upfront income and boost student commitment, reducing dropouts. Each model fits different content styles, so match it to your goals-consistent income, accessibility, or short-term gains-while keeping production quality high to retain trust and engagement.
On a final note
You’ve got this: use a reliable webcam like the Logitech C920 (1080p, 30fps) and a Yeti USB mic (sample rate 48kHz) for crisp audio, pair with Streamlabs on Twitch or YouTube for real-time engagement, keep stream layouts clean with readable timers and focus playlists, test lighting with softboxes at 5000K, and confirm latency stays under 6 seconds using wired Ethernet-real testers report higher retention when sessions start on time, stay interactive, and respect accessibility with captions and clear audio balance.