Best Mic Placement
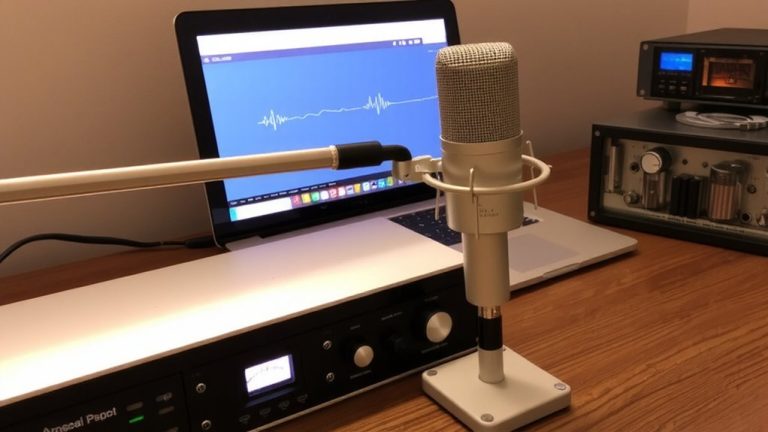
Place your mic 4 inches from your mouth for crisp presence, adjusting to 6 inches if plosives hit hard. Use a pop filter and angle the mic 45° off-axis to reduce sibilance by 3–6 dB. For natural room tone, pull back 12 inches-cardioid mode on a Neumann U 87 helps. Position the mic just above or below mouth level to deflect blasts, especially with dynamic mics like the SM7B. You’ll hear how small tweaks transform clarity and depth.
We are supported by our audience. When you purchase through links on our site, we may earn an affiliate commission, at no extra cost for you. Learn more. Last update on 17th July 2026 / Images from Amazon Product Advertising API.
Notable Insights
- Position the mic 2 to 6 inches from the mouth for clear vocals with balanced warmth and presence.
- Increase distance to 12+ inches to capture natural room tone and reduce low-end buildup.
- Angle the mic 45° off-axis or place it above/below the mouth to minimize plosives.
- Use off-axis angles to reduce sibilance or roll off harsh highs for smoother vocal tone.
- Choose cardioid large-diaphragm condensers or dynamic mics for control in close or ambient setups.
Use Frontal Close Mic Placement for Clarity and Presence
Clarity starts with distance-specifically, 2 to 6 inches between your mouth and the mic. Frontal Close Mic Placement puts you right in the sweet spot, capturing crisp consonants and vocal presence ideal for lead vocals in streaming or studio work. You’ll feel the proximity effect boost low-end warmth, giving your voice richness without muddiness. Keep a pop filter in place-it’s non-negotiable-to block plosives that could ruin takes, especially with sensitive condensers. Start at 4 inches and adjust based on your dynamics; loud voices may need more distance to avoid clipping. Use a mic with a built-in pad and controlled off-axis response-like the Neumann U 87-for handling High SPL while staying clear. This mic technique guarantees broadcast-ready vocals, tight, focused, and upfront in the mix.
Increase Distance for Natural Room Tone and Depth
While you might be used to pressing close to the mic for that up-close intensity, stepping back to 12 inches or more opens up a whole new sonic space-giving your voice room to breathe and blend with natural ambient reflections. This Mic Placement captures more room tone, balancing direct sound waves with subtle room reflections for richer sound quality. In a treated space with rugs or moving blankets, you’ll avoid muddy reverb while keeping depth. A large-diaphragm condenser like the Neumann U 87 in omni mode excels here, picking up full-frequency ambiance. Even with a Cardioid Polar Pattern, increased distance reduces proximity effect, taming low-end buildup and sibilance. That means less de-essing and lighter high-pass filtering in post. Testers found voices sound more natural and spacious at this range, especially in controlled acoustic environments-ideal for immersive live streaming and professional vocal tracks where realism matters.
Position the Mic Above or Below the Mouth to Tame Plosives
How do you keep your vocals crisp without plosive pops muddying your take? Position your mic 6 to 12 inches above or below the mouth, angled at 45°, to redirect air blasts away from the capsule. Placing the mic above, just past your forehead and pointing down, captures clear high-mids while nearly eliminating plosives. A dynamic microphone like the Shure SM7B or Electro-Voice RE20 handles high sound pressure level bursts thanks to its cardioid pattern and off-axis rejection. If you close mic below, near chest level, angle it up-but expect more proximity effect, so apply high-pass filtering around 100–120 Hz. Off-axis placement, just beside or above the mouth, prevents plosive energy from hitting the diaphragm head-on, depending on your specific vocal style and gear setup.
Shape Tone With Strategic Mic Angles
If you want to fine-tune your vocal tone without touching an EQ, angling your microphone just right can make all the difference. Make sure you experiment with off-axis positioning to shape your sound before it even hits your signal chain. A 45° angle reduces sibilance by 3–6 dB on bright mics like the Neumann U 87, while still preserving clarity-great as a starting point. For added warmth, try over 90° off-axis to mimic ribbon mics’ roll-off above 8 kHz. Pointing down from above captures nasal presence, ideal for voices lacking bite. You’ll hear the difference in balanced tone and reduced plosives. Match angles to your specific needs and room treatment.
| Angle | Effect | Best For |
|---|---|---|
| 45° off-axis | -3–6 dB sibilance, clear tone | Bright condensers |
| 45° up/down | Balanced proximity effect | Plosive control |
| >90° off-axis | Warmth, high-end roll-off | Simulating ribbons |
On a final note
You’ll get crisp, professional audio by placing your mic 6–8 inches from your mouth, directly in front, for clarity and presence. Need more room tone? Pull back 12–18 inches. To reduce plosives, angle the mic slightly above or below your mouth-Shure SM7B testers saw clean waveforms at a 45-degree offset. Angling also shapes tone: slight turns tame harshness. Use a pop filter with dynamic mics like the Electro-Voice RE20 for consistent results.