Best Audio Levels for Youtube
Keep your vocals peaking at -12 dBFS and averaged around -13 LUFS for ideal clarity and loudness consistency on YouTube. Master to -1 dBTP using a true peak limiter to prevent clipping during AAC encoding. Set background music 20 dB quieter than speech-around -25 dBFS-to maintain intelligibility without masking. YouTube normalizes to -13 LUFS, so going louder reduces impact, while quieter levels stay unboosted. You’ll hear the difference when every word cuts through cleanly. There’s more to perfecting your mix where it counts.
We are supported by our audience. When you purchase through links on our site, we may earn an affiliate commission, at no extra cost for you. Learn more. Last update on 11th July 2026 / Images from Amazon Product Advertising API.
Notable Insights
- Master audio to -13 LUFS for optimal volume after YouTube’s normalization.
- Set vocal peaks at -12 dBFS to ensure clarity and presence.
- Keep background music 20 dB quieter than vocals for speech intelligibility.
- Export with True Peak levels at -1 dBTP to prevent intersample clipping.
- Avoid peaks above 0 dBFS; use a True Peak limiter during mastering.
How Poor Audio Kills YouTube Watch Time
While crisp visuals might grab attention, it’s bad audio that drives viewers away fast-especially when levels are too quiet, too loud, or wildly inconsistent. Poor audio causes immediate viewer drop-off, even if your video looks sharp. Viewers tolerate fuzzy video more than unclear sound because muffled dialogue clarity breaks understanding. If your volume level dips below -20 LUFS, your audio feels weak, especially on laptop speakers, hurting YouTube watch time. Peaks above 0 dBFS cause distortion, while inconsistent sound levels frustrate across devices. Background music set only 10 dB below vocals masks speech, and levels near -45 dBFS introduce noise. Proper audio levels keep dialogue clear and consistent. Test with loudness meters and adjust in post with tools like Adobe Audition or Audacity. Good sound keeps people watching.
How YouTube’s -13 LUFS Rule Affects Your Volume
Since YouTube automatically adjusts audio playback based on loudness, hitting the -13 LUFS target means your viewers hear your content exactly as you intended, no surprises. YouTube’s normalising audio system uses integrated loudness, not True Peak levels, so even if your video peaks at -1 dBFS, it can still be turned down. If your audio measures above -13 LUFS-say, -8 LUFS-YouTube reduces the volume to match its reference, potentially making your mix sound weak. Videos below -13 LUFS, like -20 or -26.5 LUFS, won’t be boosted, leaving them too quiet. This affects every video upload, regardless of content type. Use “Stats for Nerds” to check applied audio gain and adjust your mastering accordingly. Matching -13 LUFS guarantees consistent volume and superior listener experience, keeping your audio clear and professional across all devices.
Set Vocals at -12 dBFS for Clear Speech on YouTube
When you’re aiming for crisp, intelligible vocals on YouTube, hitting a peak level of -12 dBFS is your sweet spot, giving you enough headroom to survive YouTube’s transcoding without sacrificing presence or clarity. Staying at -12 dBFS helps maintain clear speech, even after YouTube normalizes your audio. This level is backed by broadcast standards and university guidelines as one of the Right Audio Levels for a professional YouTube video. Use a True Peak limiter set to -1 dBTP to control intersample peaks and protect your headroom. When mixing audio, keeping vocal audio peaks consistent guarantees your message stays loud and clear across devices.
| Target Level | Purpose |
|---|---|
| -12 dBFS | Ideal vocal peak for clarity |
| -32 dBFS | Background music (20 dB quieter) |
| -1 dBTP | True Peak limiter ceiling |
| -13 LUFS | YouTube’s normalization target |
| 0 dBFS | Absolute clipping point |
Keep Background Music 20 dB Quieter Than Vocals
You’ve nailed the vocal level at -12 dBFS, giving your speech clarity and room to breathe through YouTube’s compression, so now focus on the background music-keep it 20 dB quieter than your vocals to maintain that crisp intelligibility. Following W3C recommendations, setting background music 20 dB lower than vocals guarantees strong vocal intelligibility, especially for viewers with hearing impairments. This gap makes speech sound about four times louder, cutting through the mix without strain. Aim for background music peak levels around -25 dBFS when your vocals sit at -6 to -12 dBFS-loud enough to be effective, quiet enough to avoid masking dialogue or triggering audio normalisation issues. Avoid setting music too low (-45 dBFS) where it’s inaudible, or too high (-30 dBFS) where it competes. Stick to the 20 dB rule for balanced audio levels that preserve clarity, professionalism, and accessibility across devices.
Export at -1 dBFS True Peak to Avoid Clipping
Aim for a True Peak level of -1 dBFS when exporting your audio to keep things clean and distortion-free after YouTube’s encoding process. Even if your sample peaks hit 0 dBFS, inter-sample peaks can exceed full scale, causing clipping once YouTube compresses your audio. YouTube uses AAC, which often introduces overshoot, so leaving that -1 dBFS True Peak headroom prevents distortion. Tools like iZotope’s True Peak limiter with intersample detection help you accurately measure and cap these hidden peaks. Set your limiter to -1 dBFS on the master track in DaVinci Resolve or Premiere Pro before you export. This small step guarantees your audio levels stay safe, even after transcoding. Don’t trust peak meters alone-always monitor True Peak values. Exporting at -1 dBFS isn’t just cautious, it’s standard practice for pro creators. Protect your sound, avoid clipping, and deliver crisp, clean audio every time.
On a final note
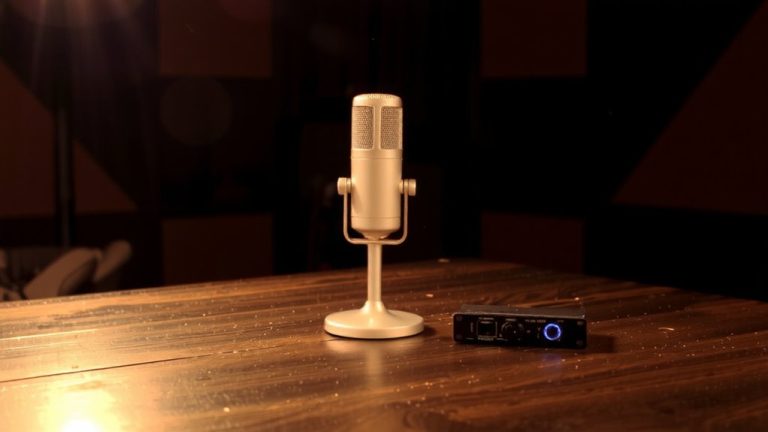
You’ve got this: keep vocals at -12 dBFS for crisp, clear speech, and set background music 20 dB lower so it doesn’t drown your voice. Master to -13 LUFS with a true peak under -1 dBFS to meet YouTube’s standards and avoid clipping. Use a good USB mic like the Shure MV7 or Audio-Technica AT2020, and monitor levels in real time with a waveform monitor in OBS or DaVinci Resolve.